Guide
how to make a DETACHABLE collar
When I have spent many hours on a sewing project, I love that it has more than one option. That's why I love this detail. The removable collar gives me many choices with just one style. Here I will show you how to make the pattern for your collar and how to sew it. The pattern I have used for the foundation of the collar is the No. 3 Kastrup blouses. It is a beautiful basic blouse.
Make the pattern piece for the collar
Place all pattern pieces with the neckline to each other. This pattern has seam allowance so the pattern pieces have to overlap with 2 cm.

Draw the shape of the collar to the pattern pieces.

Trace off the collar.
Divide the collar into 6 pieces.
Cut in the lines and let the small pieces overlap with 1 cm on edge off the collar and nothing in the neckline

Make all the lines even and add seam allowance and grainline.

sew the collar
TIP to get the best finish press interfacing to the fabric before cutting. This is not something I usually don't do. However, for a collar like this, it makes all the difference.
Cut 2 pairs of collars and a piece of bias band. See here how to make and sew bias tape

Sew the collar, right sides together.

Trim the seam allowance to 0,5 cm

Press the seam allowance
Turn and press the collars


Sew bias tape to the raw edge see here how to
Cut the bias tape 1,5 cm from the collar. Fold and sew by hand to the collar

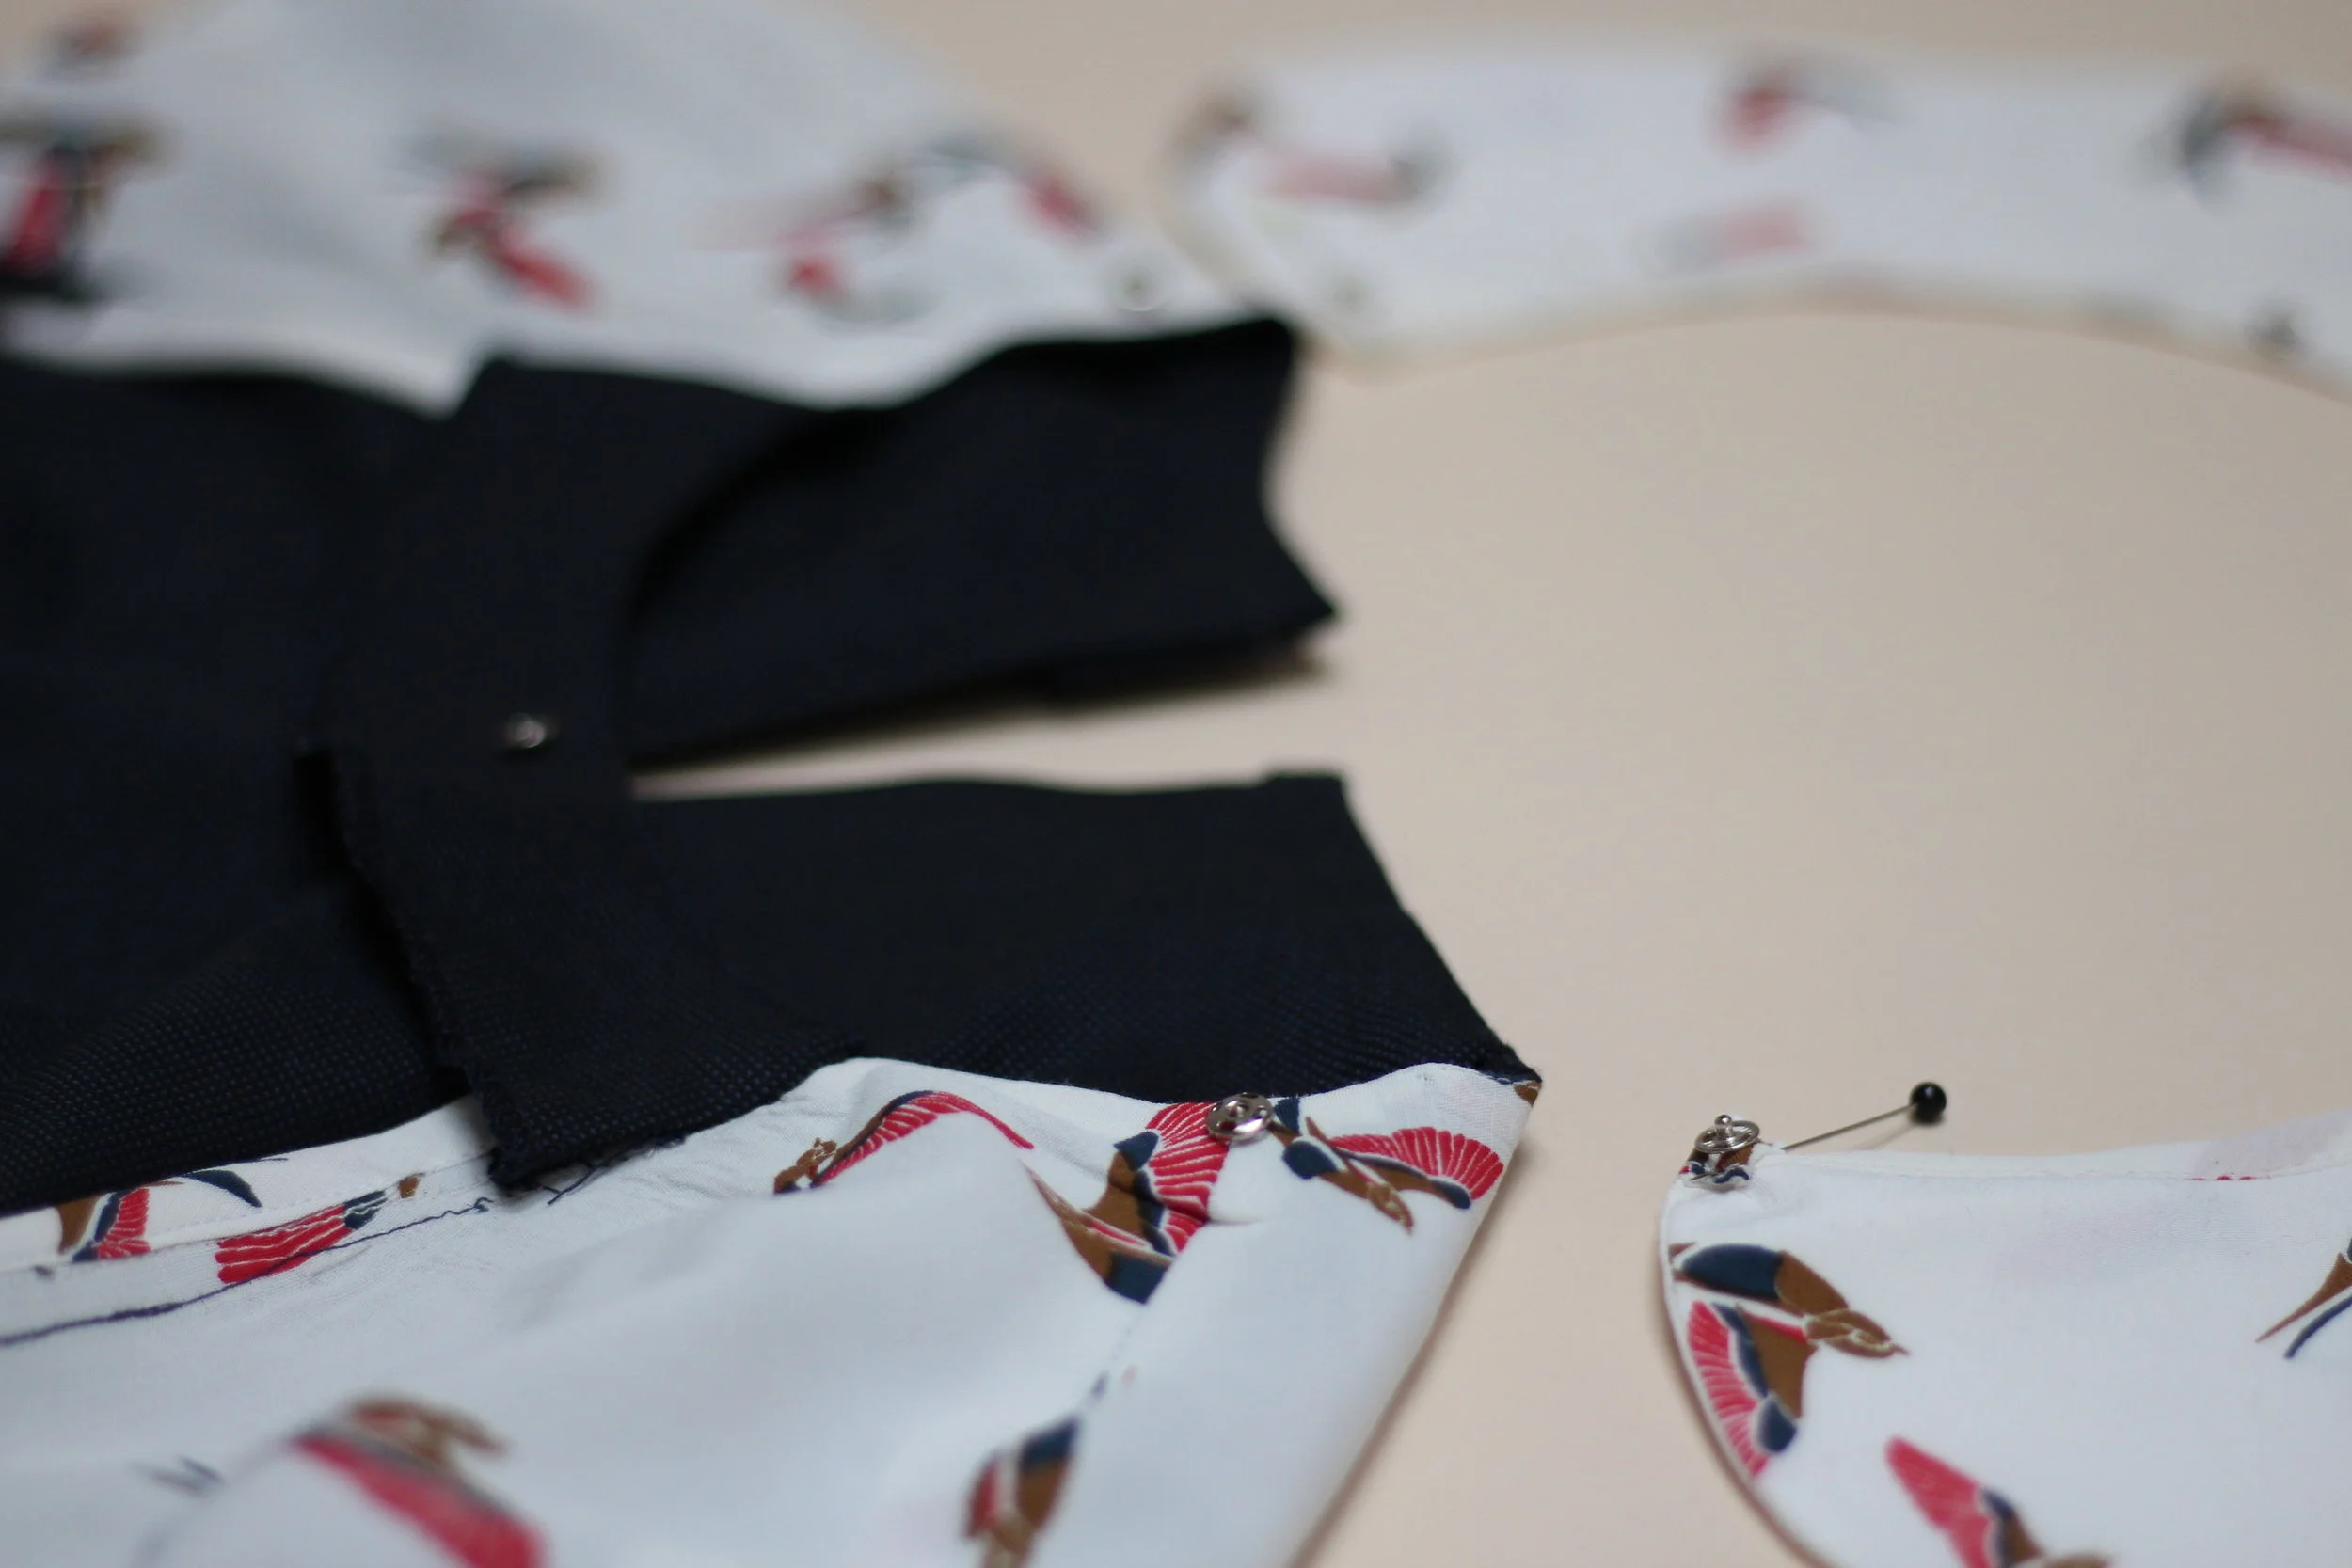
Place and sew small snaps to the collar and the neckline. I prefer to use snaps like this. I use 5 to 7 pieces.